3D Scanning Samples/FAQ
3D Scanning Samples
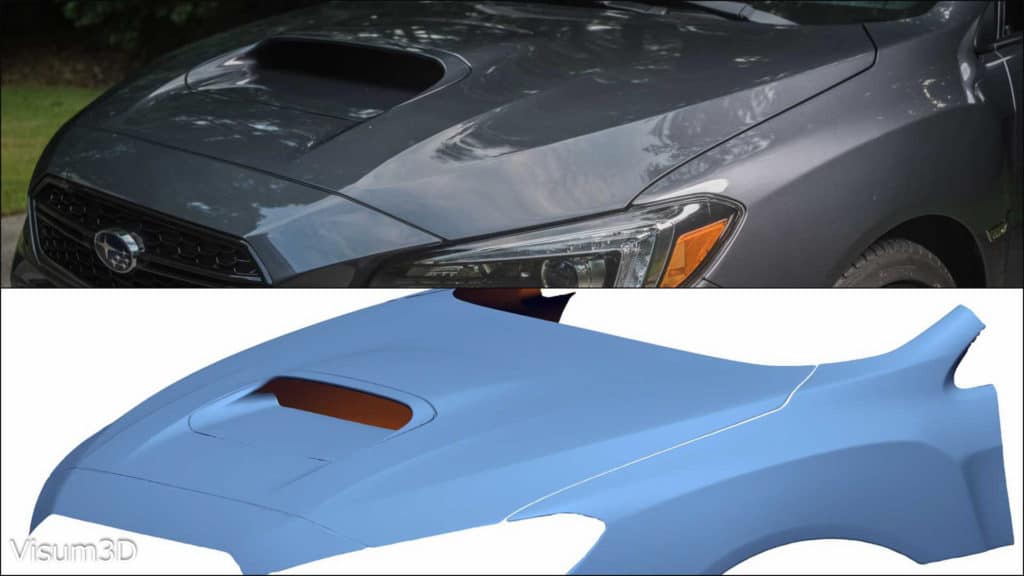
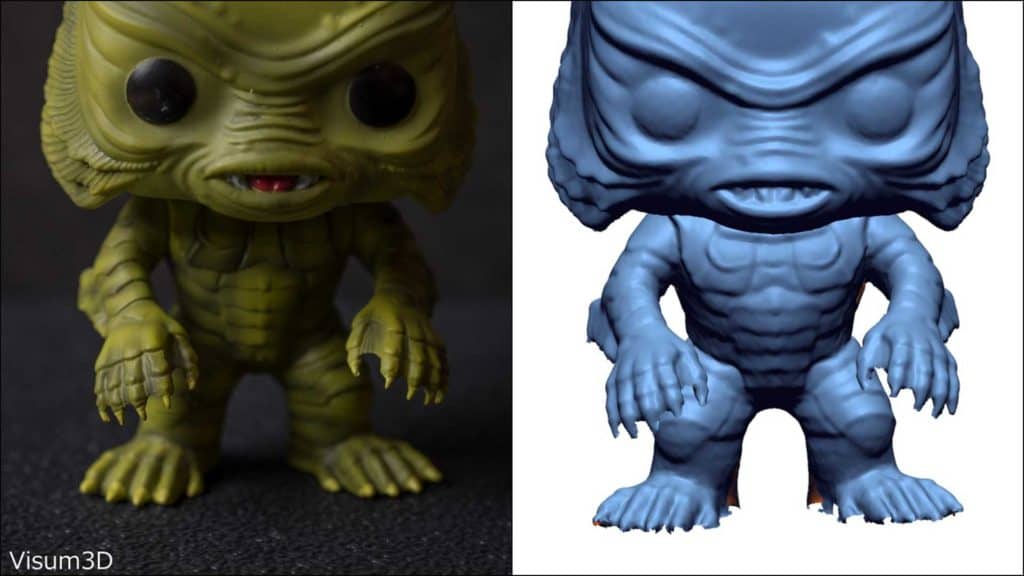
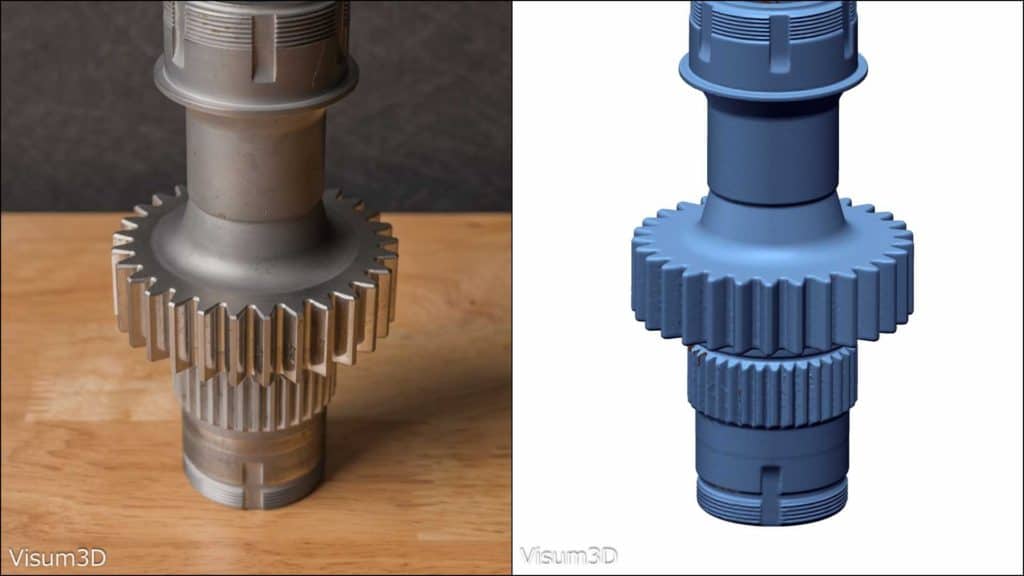
A gallery of 3D scanning samples. Click on image for better quality view.
Frequently Asked Questions
If you do not find the answers you are looking for, please contact us.
3D scanning uses hardware that employs a combination of light and cameras to create points in 3D digital space. Think of a photograph, but rather than a 2D visual representation, 3D scanning produces a 3D digital reproduction of the physical original with a focus on geometric accuracy.
3D scanning allows for the capture of measurements and features of objects that either wouldn’t be possible with traditional means of measurement (calipers, micrometers, CMM, etc) or would prove too inefficient with traditional methods (design, construction, validation of measurement fixtures). If you wanted to measure lengths of a cube in order to replicate it, then calipers would be the simplest most quick method. If you wanted to measure the curvature of a car’s body to recreate it or design around it, hand tools would prove difficult and inaccurate. Also, as GD&T (geometric dimensioning and tolerancing) continues to grow, entire surface profiles are necessary for evaluation.
- Optical based 3D scanners rely on line-of-sight to acquire data. Both the light source and camera need to be able to “see” the area of interest. If there are recesses or overhangs that obscure a needed surface, 3D scanning may prove difficult or impossible.
- The enemies of a good scan are dark surfaces (absorbs light) and shiny surfaces (reflects light). Although the acquisition technology continues to improve, there are cases where external applications must be used to facilitate data capture. For example, applying masking tape to glass or a thin film of powder to a dark object.
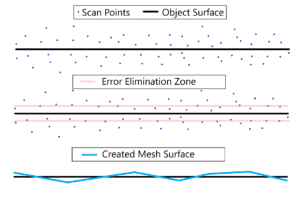
Generally, a CAD model is more likely to be usable in downstream applications such as CAD design software or CAM machining software. Most software packages are not designed to handle or manipulate large mesh files. Although you could take a 3D scan mesh and process it to make it 3D printable, all the imperfections of the scan object will be passed onto the scan. In the 3D world, there is no such thing as perfect. You need to decide if you prefer design-intent versus as-is.
Imagine designing a cube. All corners are perfect right angles and all side lengths are exactly equal to one another. Next, that cube is manufactured. Some angles might be a fraction of degree off plus/minus. The same applies to the lengths. This is all due to error inherent in the manufacturing process and is part of the reason tolerances exist. Now, imagine you want to reverse engineer the physical manufactured cube with the imperfections described earlier. You obtain the 3D scan data and are ready to create a 3D model. Do you make all the corners perfect right angles again in your design, all lengths equal (design-intent)? Or do you pass the error along (as-is)? Scanning, printing and machining each introduce error which can stack up and accumulate and needs to be accounted for in the final product.
You can fill out the contact form or call. But to save time, you can send us an email to info@visum3d.com. Attach pictures of the scan object and what you need the scan for along with any description of critical features. This information will be used to assess whether 3D scanning is the right solution and how long it will take and we will send you a quote. Remember that optical scanning is line-of-sight, so if you cannot see the feature with your own eyes then the scanner will probably not see it either.
